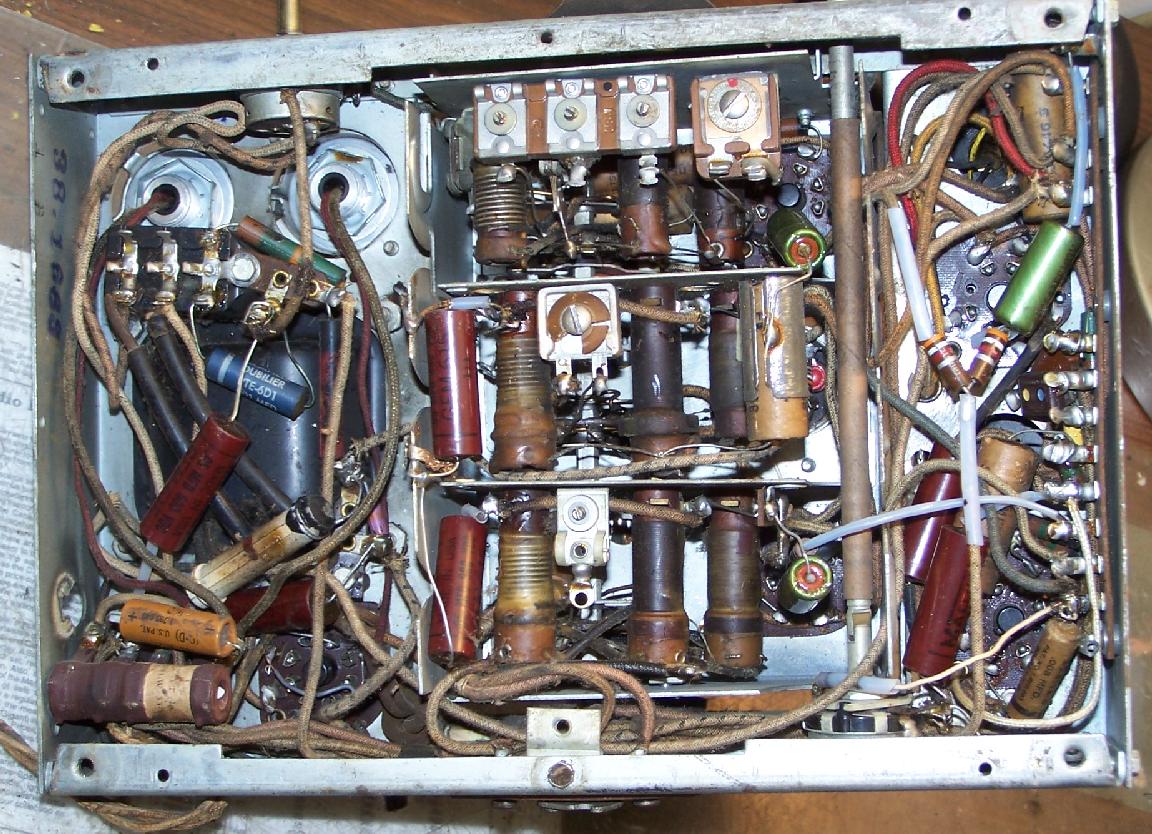
First take several pictures of the top and bottom of the radio so
you
know where all the wires are going through from one section to the
other.
Next grab up your 1/4" nutdriver and start taking out all those
sheetmetal
screws.... there is one small part to pay close attention to... at
the
rear
of the long volume control shaft is a small metal clip
between
the end of the shaft and the volume pot... don't
lose
it...
Models such as 37-610 and 37-630 etc... will take less than ten
minutes
to disassemble this radio into the pile of stuff your going to see
below
in these pictures.
Your first one might take a little longer to reassemble all the
parts...
Cut and unsolder NO WIRES...
It
is Not necessary to do anything other than remove all the screws..
First is a Philco 37-630 chassis... with complete start pictures
plus
the disassembly process ... later there are pictures of a 37-116
chassis...
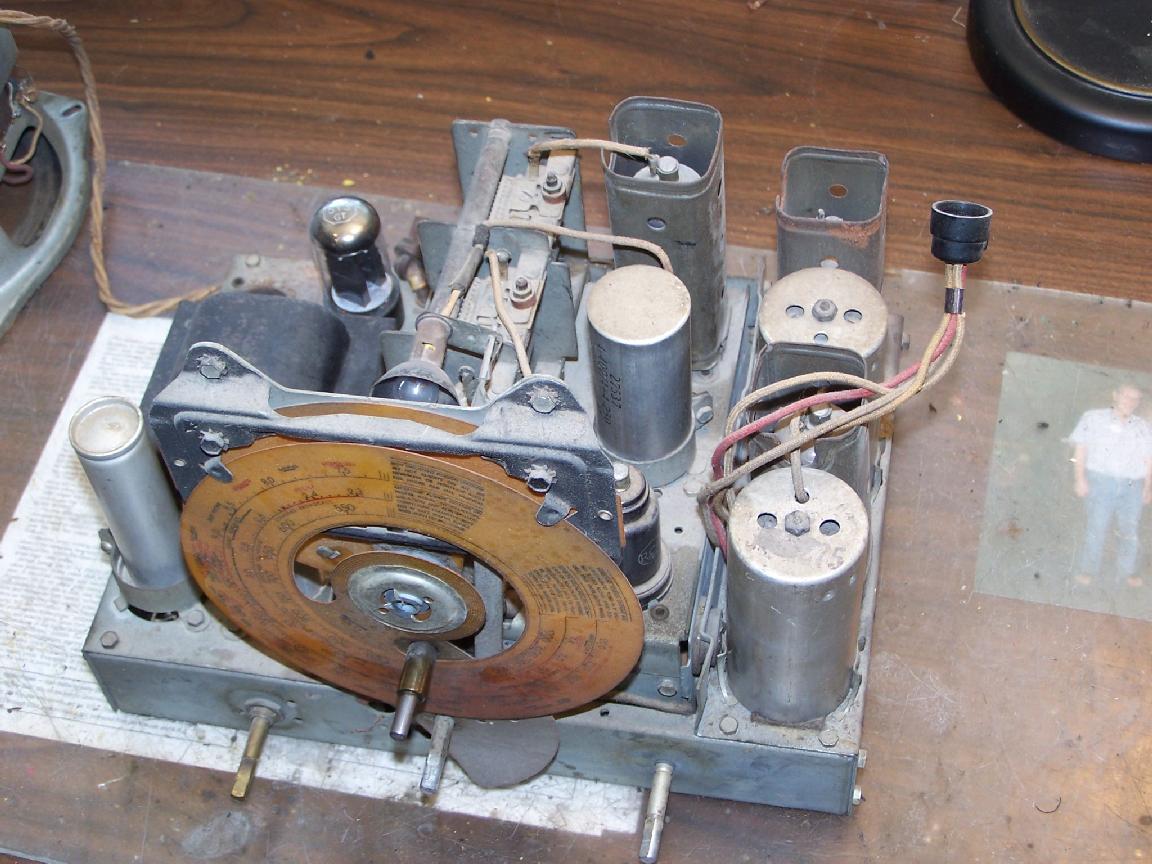

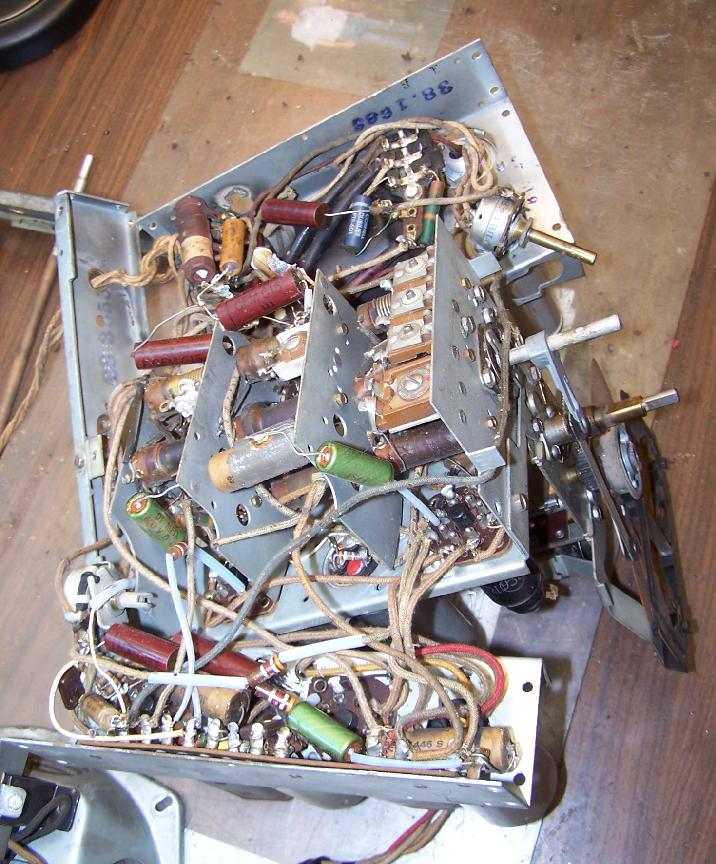
picture above... someone had started on this one and quit... I
removed
the litics hanging there and restuffed the cans with new ones...
in this particular model... there just isn't enough room to just
hop
in the new litics under the chassis... besides it looks sloppy
that way...
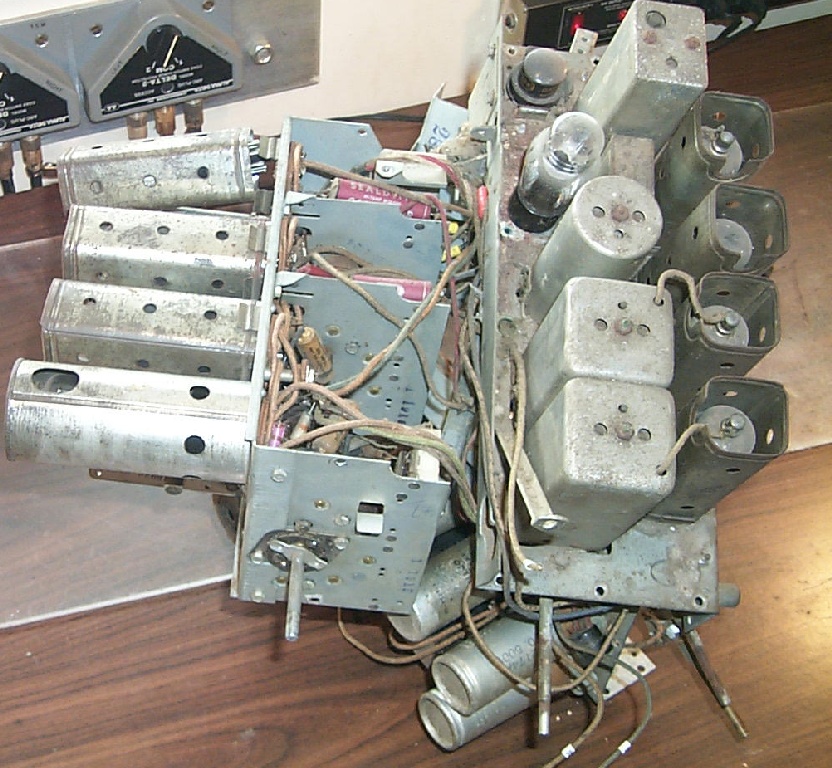
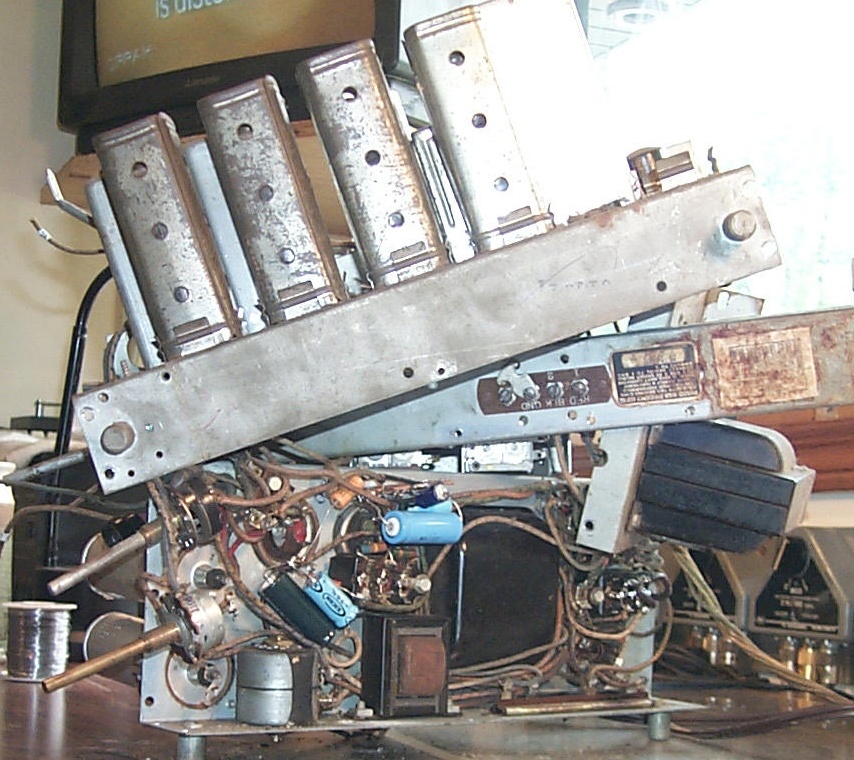
Now with the sections rolled up in a ball... and the sides of the
tuner
section removed... notice that its quite easy to get in there and
replace
the old wax capacitors... since you don't want to have to do this
whole
mess again.. check all the resistors in that tuner section and
replace
out of
spec ones while your in there... Its also easier to work on the
two
outer sections with them removed and apart ...
Eventually when you have the old caps all done set the sections
back
together and start putting screws back in to make it once again
look like a radio chassis...